
Tube socks. How to add the heels and toes.
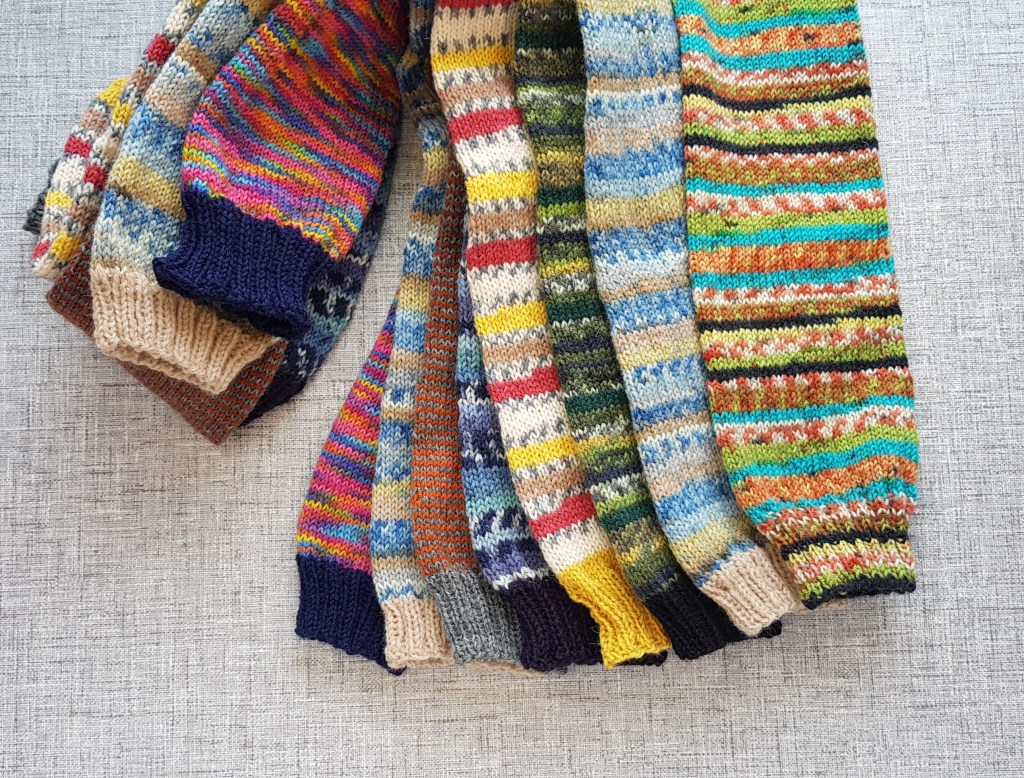
I find myself knitting lots of these tube socks lately and apart from being a relaxing knit, they are a great way to use up every last bit of the sock yarn left in the ball. If you suspect there may not be much left you can start the cuff with another colour yarn, then when the main ball runs out you can finish with the ribbing in the second colour again.

This tutorial is ideally for someone who has knitted socks before but don't be put off if you want to give it a try, this is a detailed tutorial so you should be fine.
Here is how I do it.
I cast on the right number of stitches for a sock, knit the cuff then keep knitting; while you do this you can also; drink tea, chat with friends, catch up on a film, read, eat cake, anything really. The point is you don't have to count or concentrate but with the added bonus that your hands are busy. I like my hands to be busy.
Knit your tube with a cuff at each end.
TIP: you will need to use a stretchy cast off for the end cuff. For a tutorial click here = https://youtu.be/SbzeEg6XMwM
Then find the centre of your tube and snip a stitch, go on just do it...
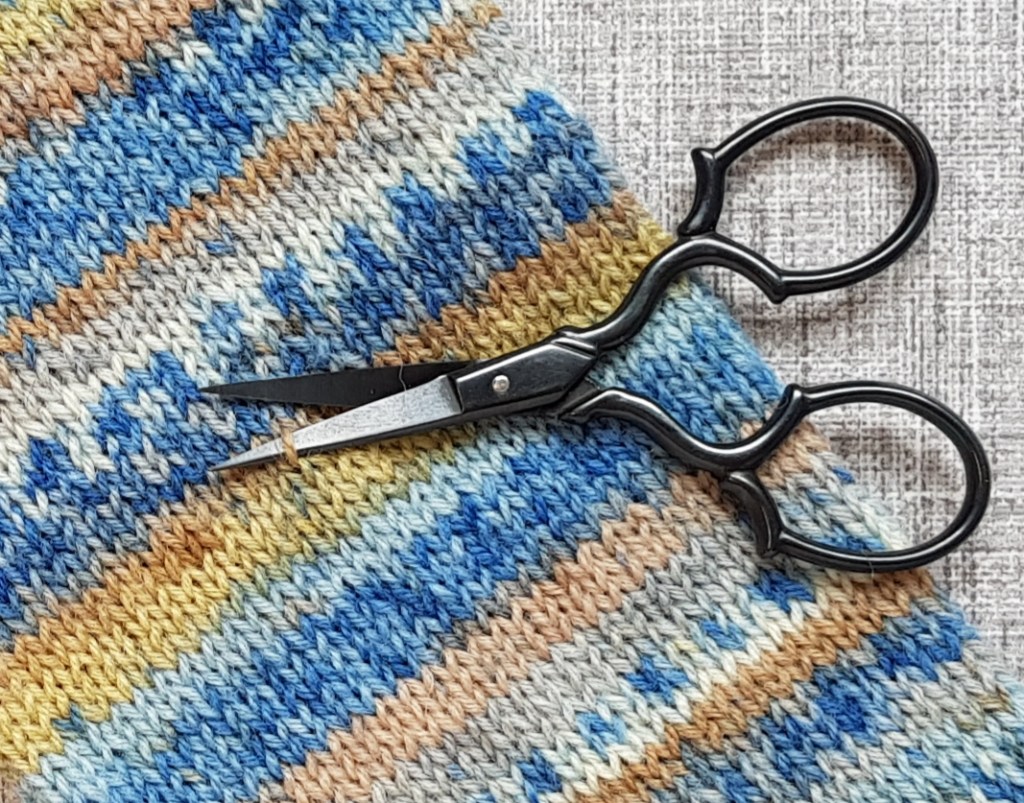
Snip that stitch….and breath 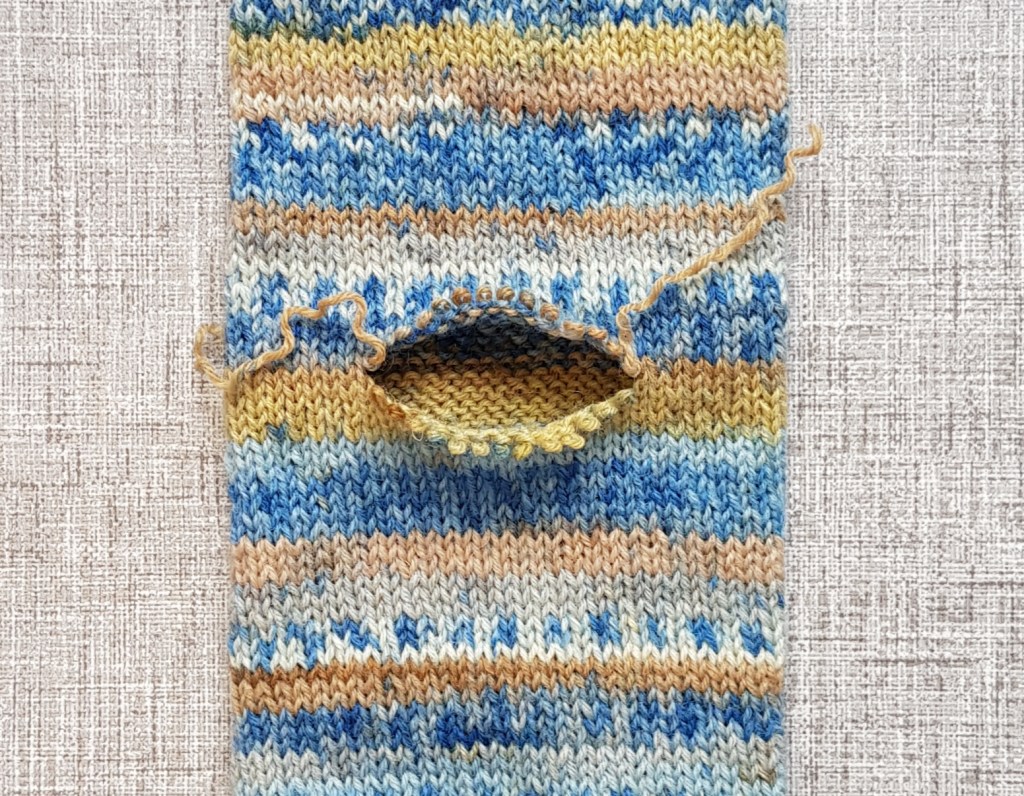
Loosen those stitches
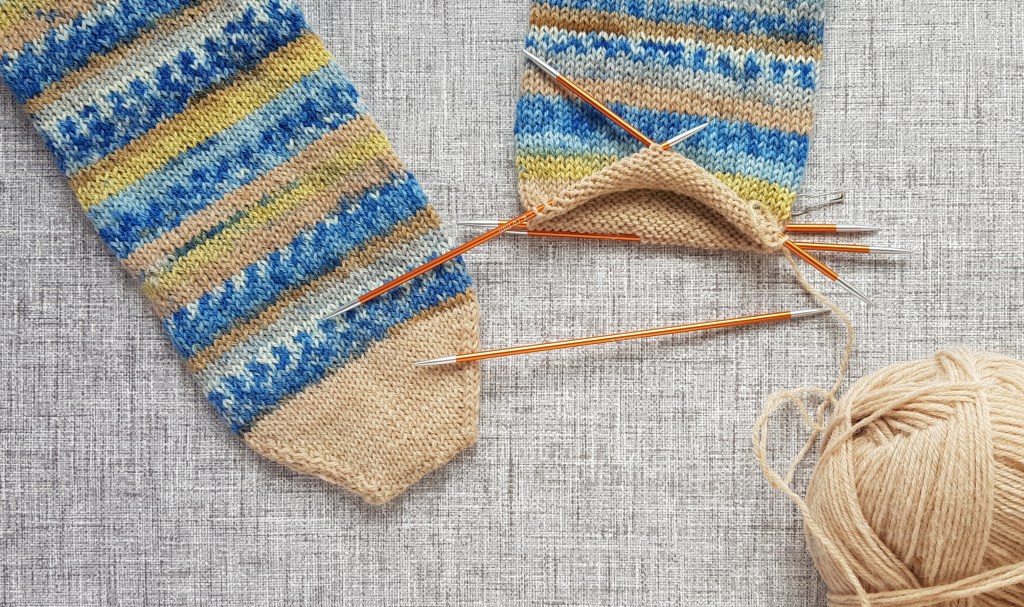
Gently undo the stitches all the way round until you have two halves. These raw stitches are waiting to become sock toes.

Pick up the loose stitches with your sock needles (circulars or dpns whatever your preference)
Begin knitting with your second colour, you can tie a loose knot to get you started but leave a long tail for sewing in later.
TIP: If you could do with a longer sock, right here is where you can add length by knitting some extra rounds.
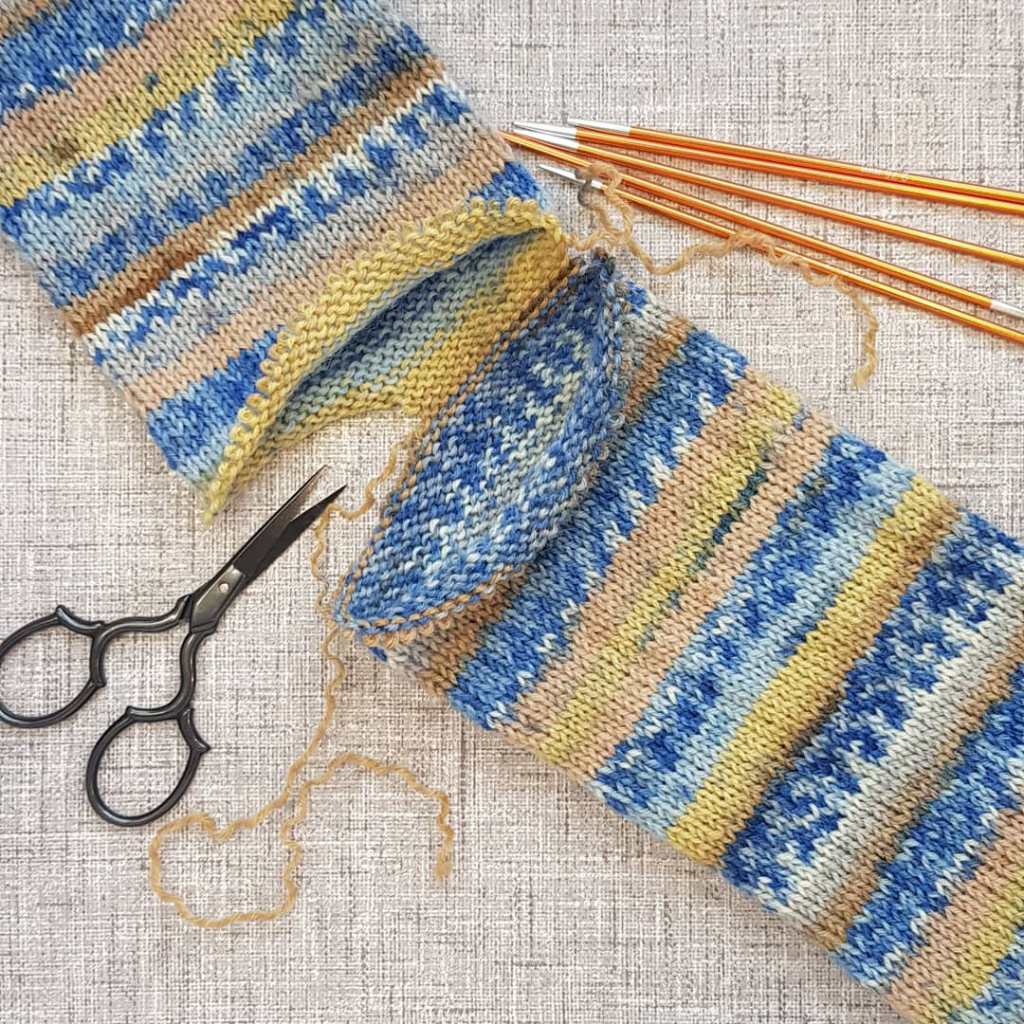
Unravel all the way round 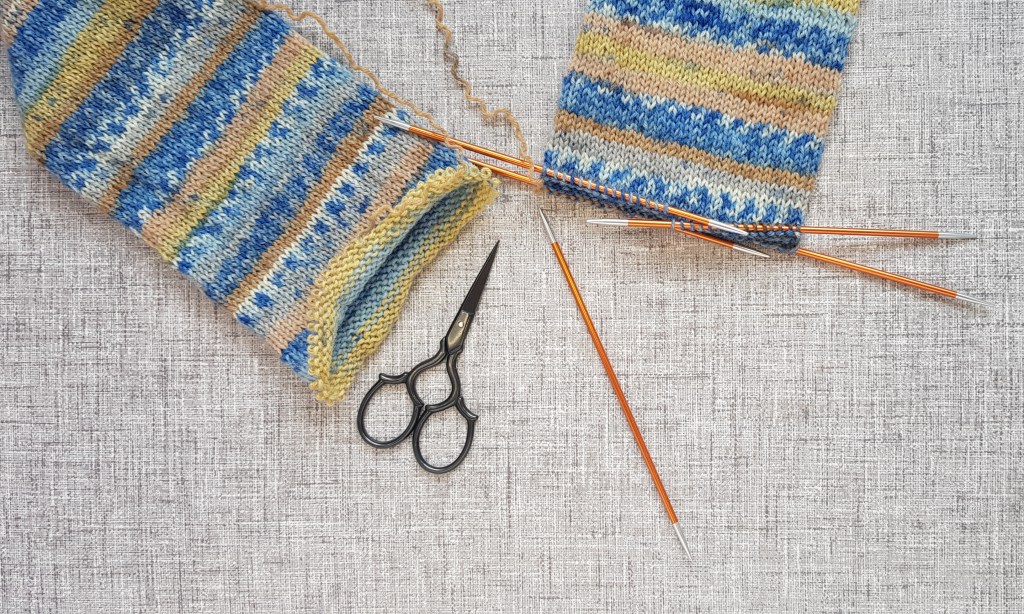
Pick up the stitches and divide them equally
Now to decrease your stitches to form the toe. This is the same as any sock pattern or mitten top you have ever done. Here's a simple pattern for the decreases.
TIP: Start at the right hand side of your sock and place a secure stitch marker to show you the beginning of the round.
- K1, ssk, knit to last 3 stitches on this side, K2tog, K1, turn sock over, K1, ssk, knit to last 3 stitches, k2tog, K1
- Knit all the way round
Continue with this decreasing pattern until you have have a few stitches left. I usually go for 7 stitches left on each needle. Then ideally you should Kitchener stitch the sock closed. If you have a preferred method then do that.
TIP: For a tutorial on how to do the Kitchener stitch click on the link below https://youtu.be/9dYP_GeHLG0
Knit the toe on both tubes obvs!
Now to insert the heel
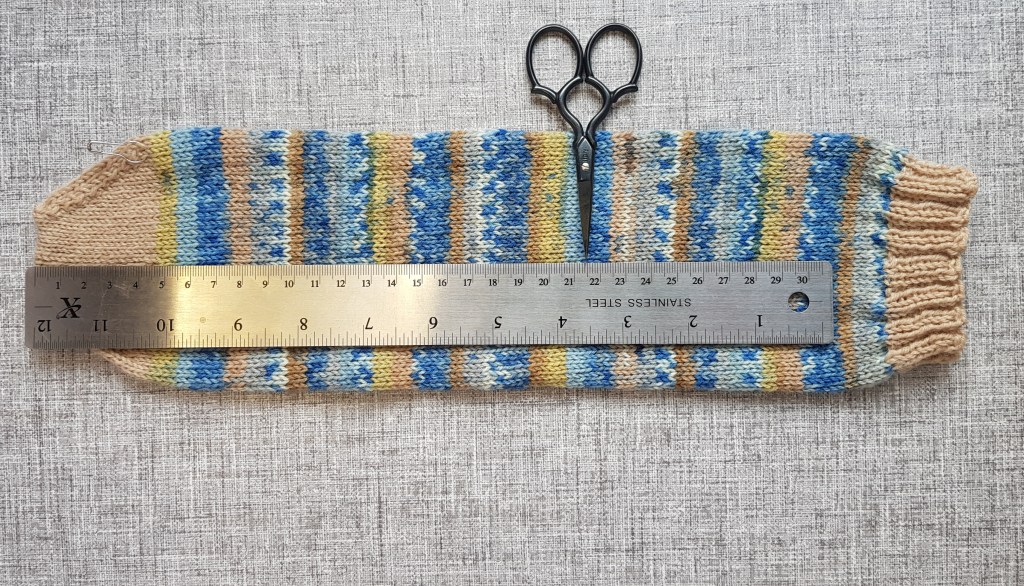
First you need to measure your foot or the person you are making the socks for (lucky person) then measure the toe you just knit. Here's the math bit.

Subtract the length of the toe you just knit from the length of the foot. This is where you will insert the heel, it makes a perfect fit every time.
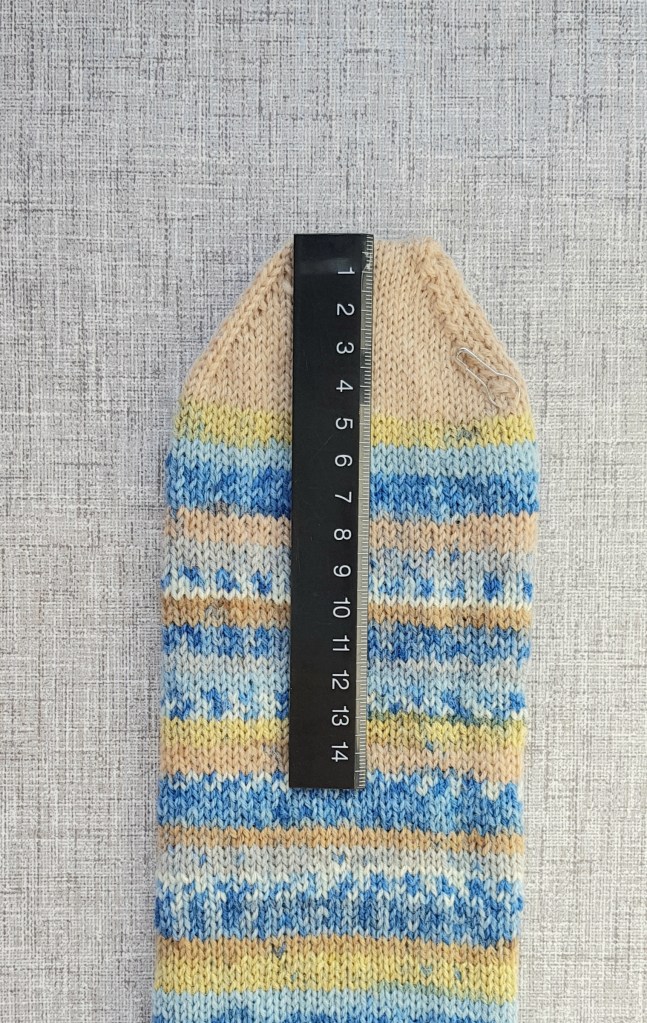
Toe is 5.5cm 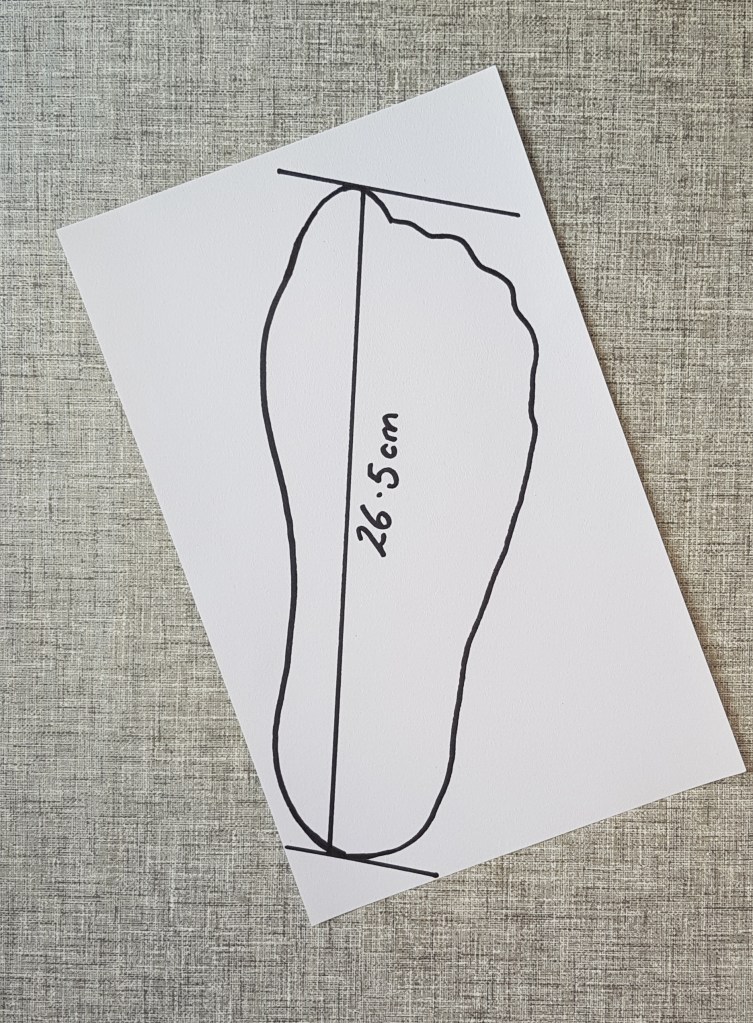
Foot is 26.5cm
TIP: snip the stitch in the middle and unravel the yarn to each side. You can use these yarn ends to tighten your heel corners later.
This time only unravel half of the stitches because you are going to pick them up top and bottom.
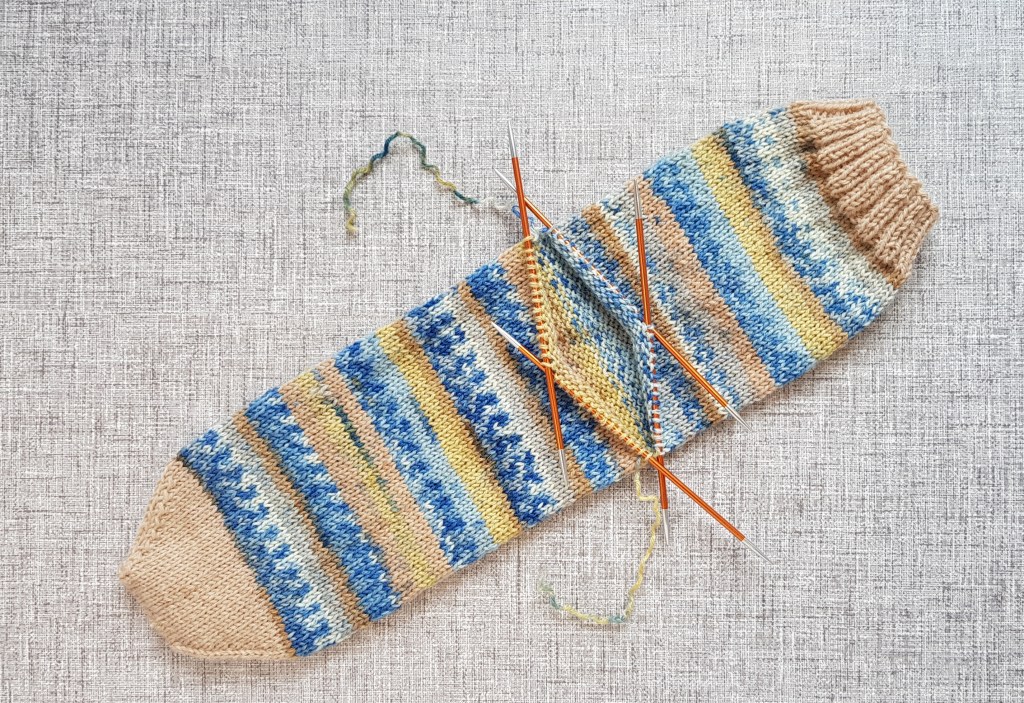
Knit one round and then......repeat exactly what you did for the toe decreasing. Honestly it really does make a heel, try it.

Complete the heel leaving the same number of stitches to be Kitchener stitched together. Sew in your ends being mindful not to create bumps that might rub and do the same for your other sock. These tube socks fit perfectly every time and you are a knitting boss!
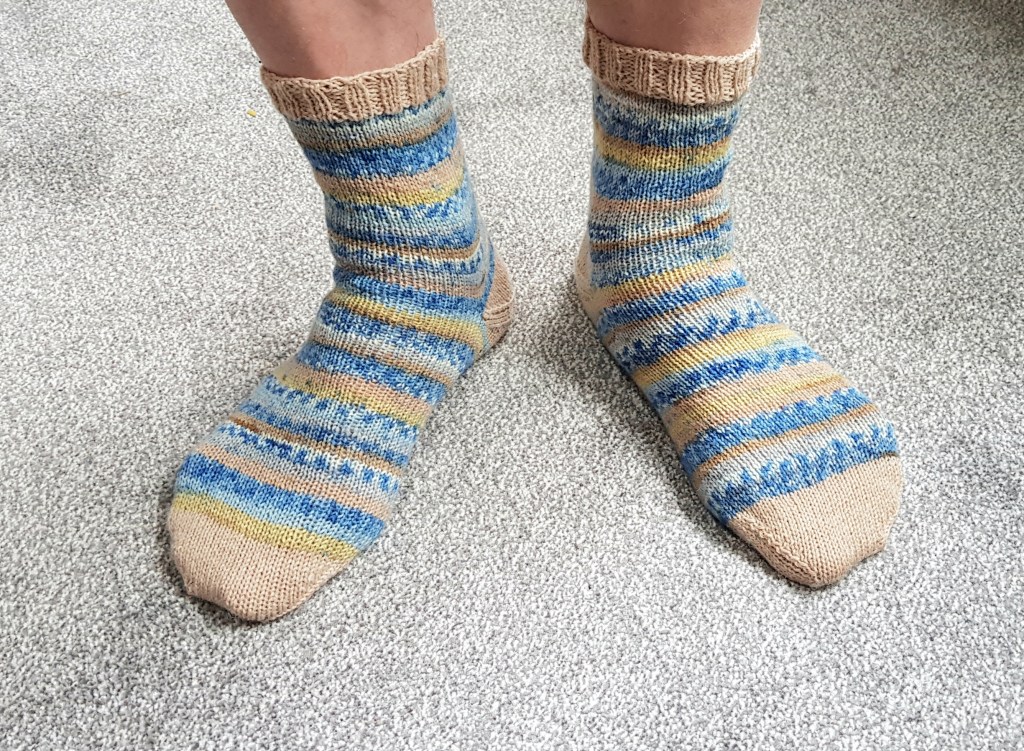
Happy knitting friends x
