Sampler Socks

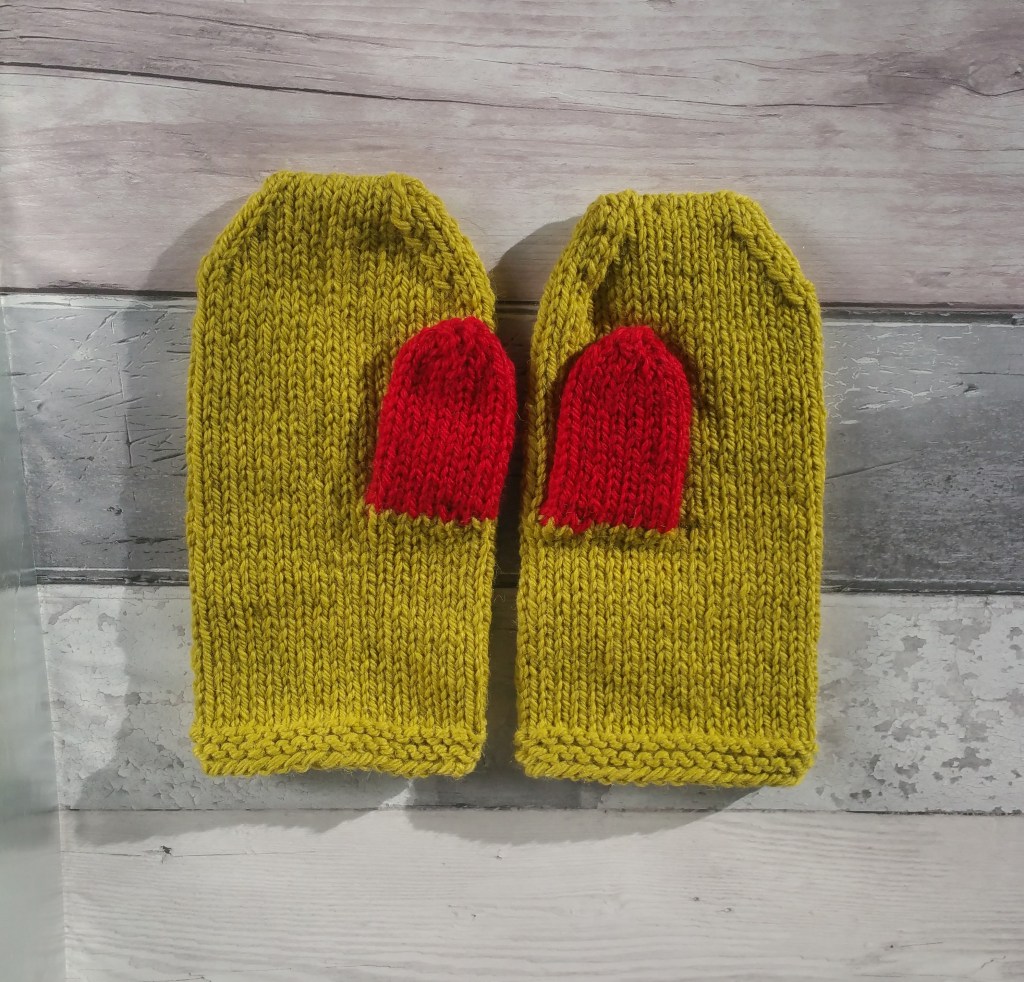
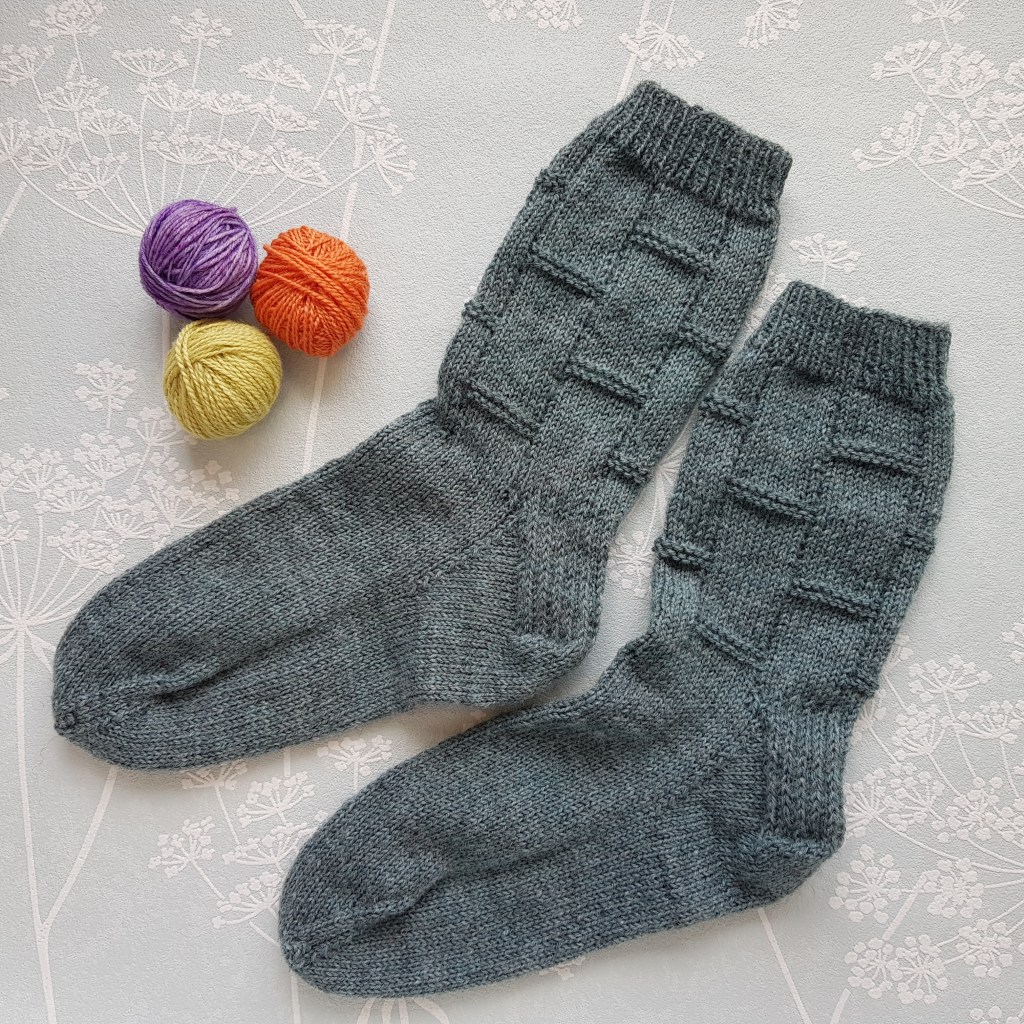
A free Sock pattern with little frames for embroidery

Sampler Socks Hndnit.com
Further to my embroidery on knitting experiment, I knit some socks with little framed areas as a space to try out some more embroidery. So I though I would share the pattern with you for free. This pattern is written for knitters who have sock knitting experience.

The yarn is Cygnet Truly Wool Rich. Pine Mix 
knit in the round with 2.75 needles

Cast on 60 stitches and K2, P2 rib for 10 rows

Set up round, arrange 15 stitches on each needle.
  • * K9, P1 *
  • Knit round
  • Repeat these 2 rows to round 9 which is a knit round
  • P10, * K9, P11 * K9, P1
  • Knit round
  • P10, * K9, P11 * K9, P1
  • Knit round

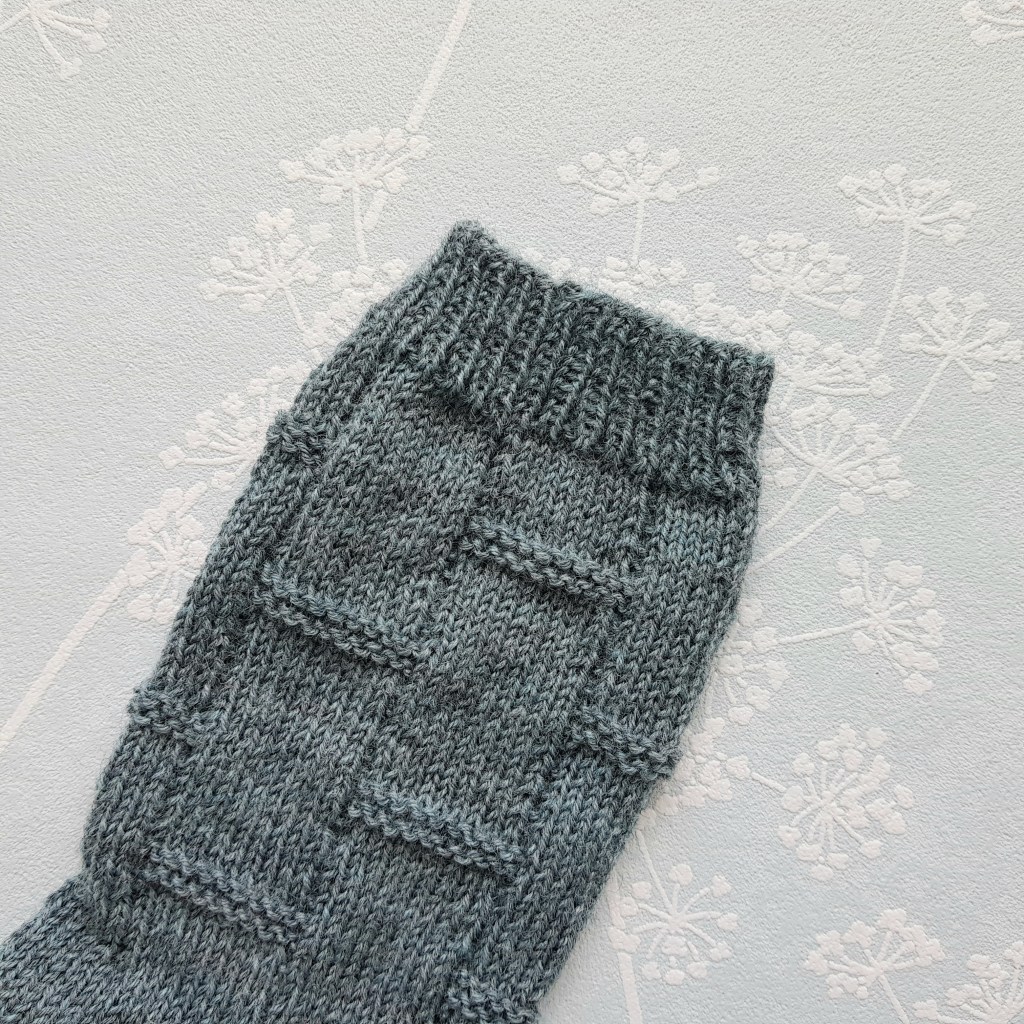
Continuing the leg pattern

  • * K9, P1 *
  • Knit round
  • Repeat these 2 rows to round 22 which is a knit round
  • * K9, P11 *
  • Knit round
  • * K9, P11 *
  • Knit round
Repeat this block of patterning for the length of your leg. I repeated it twice on my sock. The leg pattern and rib measures 15cm

Heel Flap: This is eye of partridge over half your stitches, so 30 stitches. 

A. Slip 1, K1 to end
B. Slip 1, purl to end.      Repeat A. and B. 15 times in total.

Turn the heel: Short rows.
  • Slip 1, K18, ssk, K1 TURN
  • Slip 1, P9, P2tog, P1 TURN
  • Slip 1, K10, ssk, K1 TURN
  • Slip 1, P11, P2tog, P1 TURN
  • Slip 1, K12, ssk, K1 TURN
  • Slip 1, P13, P2tog, P1 TURN
  • Slip 1, K14, ssk, K1 TURN
  • Slip 1, P15, P2tog, P1 TURN
  • Slip 1, K16, ssk, K1 TURN
  • Slip 1, P17, P2tog, P1 TURN
  • Knit across all 20 stitches
Pick up stitches for the gusset. 
Along the side of the heel flap pick up 15 stitches. Knit across the instep and pick up 15 stitches down the other side of the heel flap. Knit 5 stitches from the heel and slide other other 5 stitches onto the next needle. Your rounds begin here in the middle of the heel.

Begin decreasing the gusset
  • Knit to last 3 stitches, K2tog, K1, Knit across instep (30 Sts), K1, ssk, knit to end of round
  • Knit round
  • Continue with these rounds until you have reduced the stitches in the gusset to 15sts on each needle.
Knit rounds for the foot
I knit 40 rounds for a women's size 6 with a foot length of about 22.5cm. 
5 rounds gives you approximately 1cm but you can try your sock on for a good fit. The toe shaping is 4.5cm

Toe decreasing. If you have a preferred toe shaping method then use it here. 
I use a wedge toe shaping decrease.
Continuing in the same rounds: 15 stitches on each needle, it should be clear which is the instep and sole of your sock.

Decrease rounds for toe:
  • Knit to 3sts before instep, K2tog, K2, ssk, knit to 3sts before end of instep, K2tog, K2, ssk, knit to end of round
  • Knit round
  • Repeat these 2 rounds until you have 5sts on each needle.
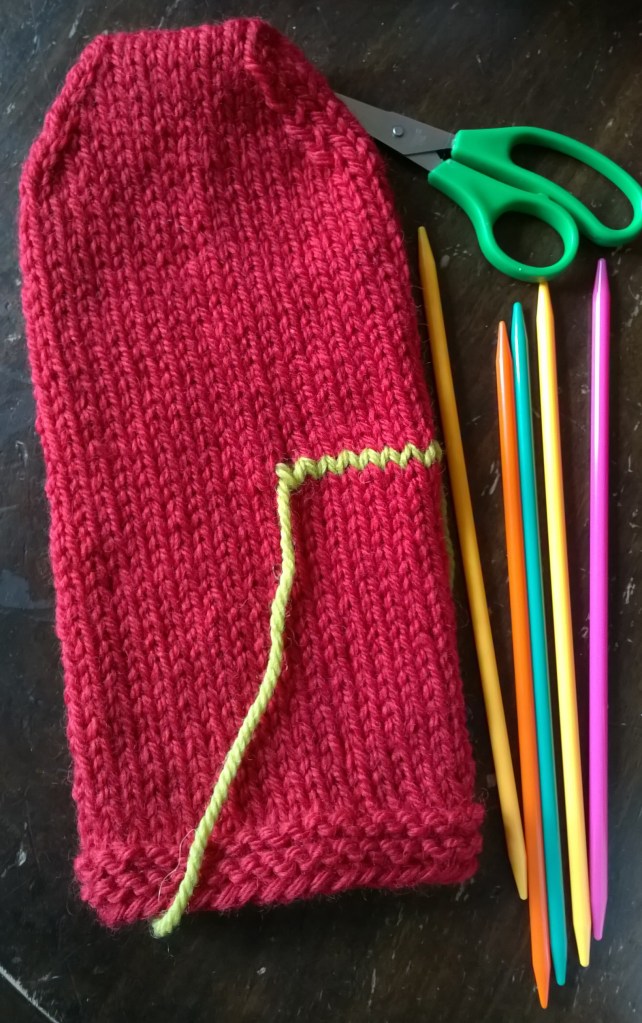
I like to finish my socks with Kitchener stitch. If you would like to see how its done or just need a refresher VeryPink.com on You Tube is excellent. . Here is a link to her slow motion videos. shorturl.at/bevBN 
Sampler Socks HndNit.com
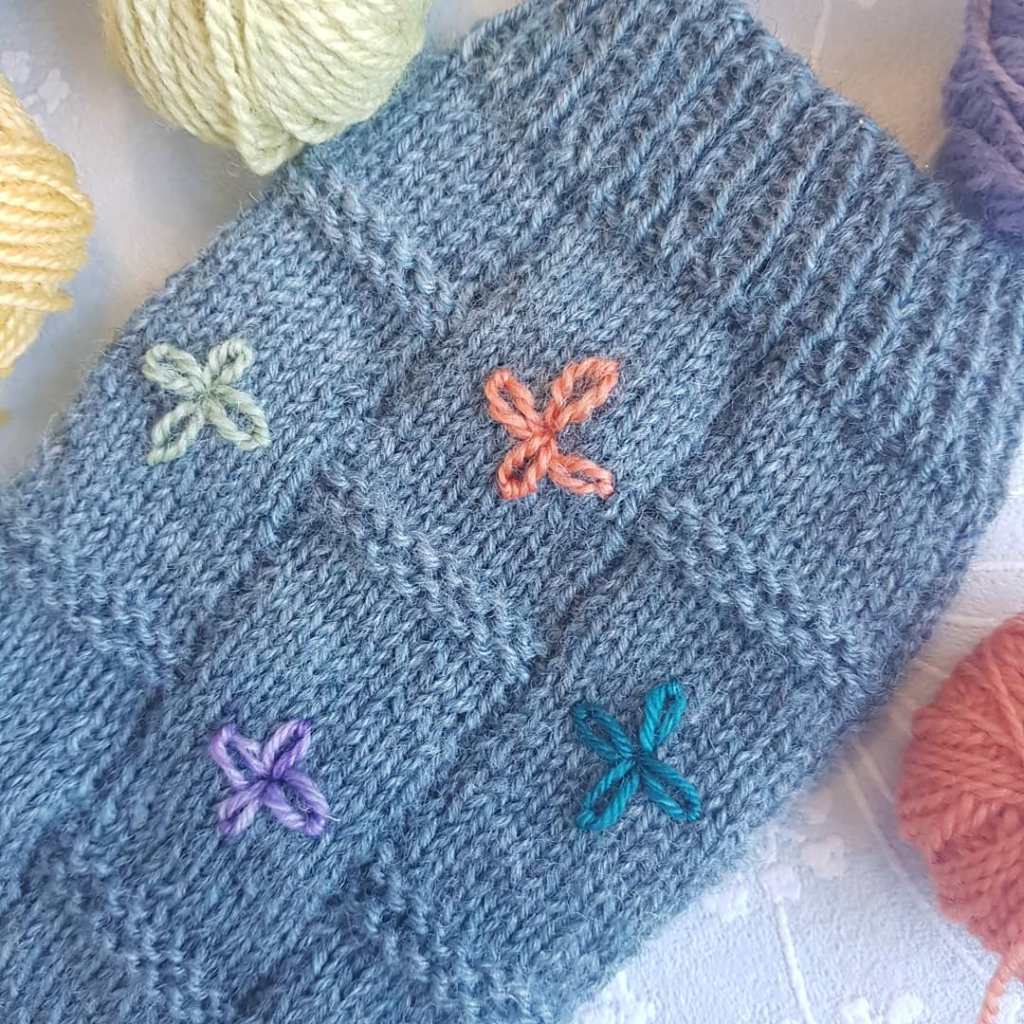
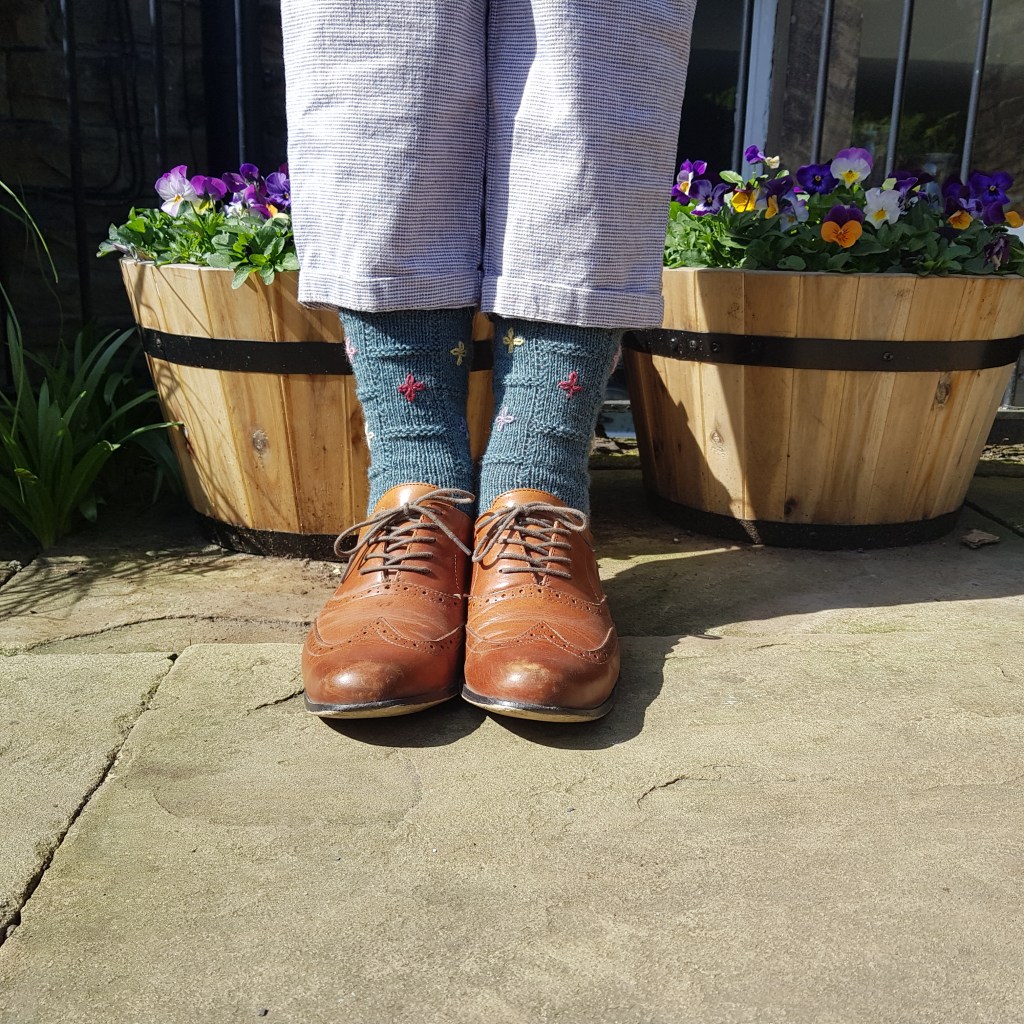
I embroidered small flowers in each section, what will you do with yours?

Happy Knitting everyone. x

Mitts So Easy Free knitting pattern

Featuring the Elizabeth Zimmerman afterthought thumb trick.

Mitts So Easy @hndnitdrake

Mitts So Easy are just that, Easy. Great for last minute winter gifts or stash busting your chunky yarn hoard. I used Drops Nepal for their lovely colours and soft feel. They make for a great colour block style; you could go wild and make each section a different colour, or make a stack all different colours then if you lose one (heaven forbid!) you can say your mis-matched Mitts were intentional. (knit in the round)

What you will need:

Mitts So Easy @hndnitdrake
  • Set of 5mm double pointed needles
  • 2 x 50g Drops Nepal
  • Stitch marker

The gauge is 22 rows x 15.5 Sts = 10cm

  • SMALL (S)
  • Height 21cm (8 1/2″)
  • Width 11cm (4 1/4″)
  • MEDIUM (M)
  • Height 24cm (9 1/2″)
  • Width 11cm (4 1/4″)
  • LARGE (L)
  • Height 25.5cm (10″)
  • Width 12cm (4 3/4″)

Cast on (S) 36(M) 36(L) 38 – stitches.

For each Mitt cast on 1 extra stitch to join in the round, do this by knitting the first and last stitch together, being careful not to twist your stitches.

Mitts So Easy @hndnitdrake

Knit 1 round. Place the marker to show you the beginning of the round, slipping the marker onto the right hand needle at the end of each round.

  • All sizes
  • Purl one round
  • Knit one round
  • Purl one round
  • Knit 20 (22) (23) rounds

Next divide your stitches evenly on your needles to represent the front and back of your Mitt and keep this combination going forward.

  • Small: 9 Sts on each needle. (18sts front and 18sts back)
  • Medium: 9 stitches on each needle. (18 Sts front and 18 Sts back)
  • Large: 10, 9, 10, 9 stitches on your needles. (19 Sts front and 19 Sts back)

Now for the clever ‘afterthought thumb trick’ by the inimitable Elizabeth Zimmerman. Easy Peasy…..

Mitts So Easy @hndnitdrake

Starting with the right hand thumb. With different coloured yarn, (approx 20cm) leave a tail and knit the next 7 (8)(8) stitches, then leaving the end hanging to the front, slip the stitches back onto the left hand needle. Now knit them again with the working yarn and continue the round. The spare yarn will stay in place until you come to knit the thumb, and that’s it….easy peasy.

For the left hand, work the Mitt exactly the same until you come the the thumb trick round. Here you will begin the round by knitting 11, (10), (11) stitches, then with different coloured yarn you repeat the above, slipping the stitches back to be knitted again by the working yarn. Complete the round.

Now to knit the rest of your Mitt. You can change colour here if you like, or at any time really. Make them your own design.

  • Knit 18, (20), (22), rounds

Then begin the decreasing for the top. Here are some abbreviations to help you;

  • K2tog. = Knit the next 2 stitches together
  • SSK = Slip, Slip, Knit. Slip 1 then the next 1 as if to knit, then knit them both together.
  • At the beginning of the round; K1, SSK, K12, (12), (13), K2tog, K2, SSK, K12, (12), (13), K2tog, K1.
  • Knit round
  • K1, SSK, K10, (10), (11), K2tog, K2, SSK, K10, (10), (11), K2tog, K1
  • Knit round
  • K1, SSK, K8, (8), (9), K2tog, K2, SSK, K8, (8), (9), K2tog, K1
  • Knit round
  • K1, SSK, K6, (6), (7), K2tog, K2, SSK, K6, (6), (7), K2tog, K1
  • Knit round

Small Mitt has 20 stitches left

Medium Mitt has 20 stitches left

Large Mitt has 22 stitches left

To close the top of the Mitt you could use a 3 needle bind off, or cast off and sew together but better still, use Kitchener stitch. For an excellent tutorial I recommend VeryPink Knits on You Tube.

Thumbs Up ! ( see what I did there)

Look at the row of stitches that are held by the scrap yarn and see how each stitch is reserved for the thumb. (You can change colour here if you want to). If you are feeling brave you can carefully remove the scarp yarn and pick up the stitches that become available, top and bottom of the thumb opening. OR you can insert your needle into the right hand leg of each ‘held’ stitch. Turn the Mitt and do the same for the top of the opening, then remove the scrap yarn. To prevent a hole forming pick up one extra stitch each side. Do the same for both Mitts.

Small = 16 stitches

Medium = 18 stitches

Large = 18 stitches

Arrange the thumb stitches on your double pointed needles so that they are comfortable for you to knit. You may find it easier to knit with 3 instead of 4 needles.

Mitts so easy @hndnitdrake

Knit: Small 15 rounds

Medium 15 rounds

Large 16 rounds

Decrease for the top of the thumb:

  • K2tog
  • Knit round
  • Small K2tog. Medium and large K1, k2tog
  • Knit round
  • Cut a long tail and thread it through the remaining stitches and sew in your ends
  • (S – 4sts) (M – 6sts) (L – 6sts)

Do the same for both Mitts and enjoy. xx

Knitting ‘Paper Chains’

This is a fun project which grows one link at a time. It is knit in the round on double pointed needles and would be suitable for someone fairly new to circular knitting. If you prefer circular needles, please note that the diameter of each link is fairly small. 

What you will need:

At least 4 colours of Stylecraft DK yarn but use as many colours as you want or you could go monochrome.

3.5mm dpns, double pointed needles. 

Scissors and a darning needle

Link 1.

Cast 48 stitches onto 3 dpns; 16 sts on each, join in the round being careful not to twist your stitches.

Knit 12 rounds then cast off and sew in your ends. 

Now let the fabric fold in on itself top and bottom, Stocking stitch naturally wants to do this.

Link 2.

Cast 48 stitches onto 3 needles. Drop the back end of your needles through link no.1 and then join in the round being careful not to twist your stitches.

This is where I found it easier to knit on 3 dpns but if you prefer to knit on 4 needles or circular needles then please do.

Knit 12 rounds, rotating the new link through the first as you go. It feels a bit tricky to start with but you’ll  get the hang of it. 

After 12 rounds, cast off and  sew in your ends and let the fabric roll in top and bottom.

Repeat the instructions as for link 2. adding new links in different colours as you go.

This project is perfect for a satisfying little bit of knitting when a large project seems too much.